Master the Structural to Analysis (S2A) workflow
We collected tips and tricks which will help you to master the S2A workflow in SCIA AutoConverter. For each step, we will explain in a few sentences how it will make your work truly effective.
Tips for step 1: model selection
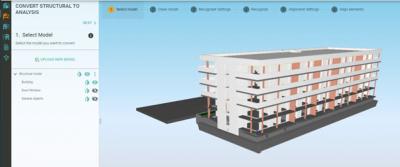
Don’t forget to double-check the model disciplines in step 1. There might be a category which is not relevant for your structural analysis (e.g.: furniture, MEP,...). In that case, you can turn off that discipline and those objects will be filtered out automatically.

Tips for step 2: model cleaning
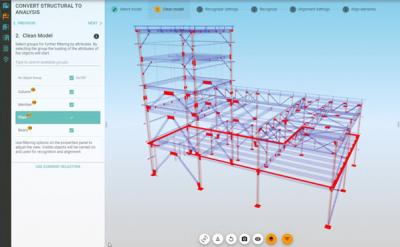
You are not sure what objects are in the IFC group? Just click on the line to select and highlight them in the 3D scene. Together with the isolate function (which turns non-selected objects as transparent), it will give you a clear image of the content in the IFC group.
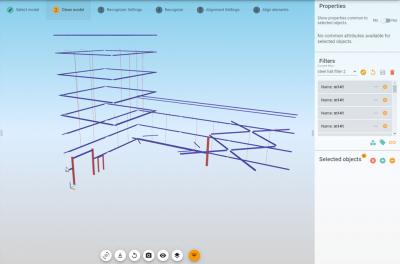
Do you want to know what is already filtered out (via attribute and selection filter)? Use reverse filtering.
Tips for step 3: recognizer settings
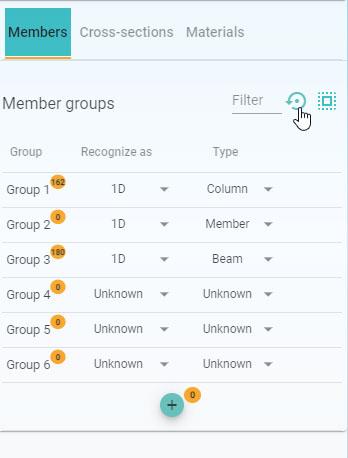
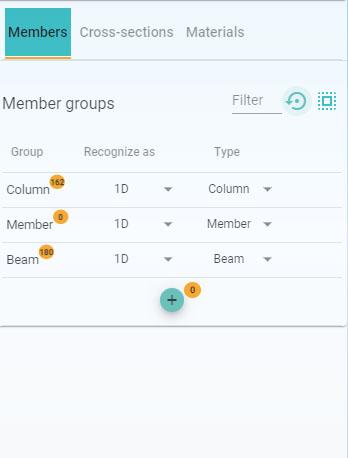
Do you want to go back to the default group assignment? Just restore the default and groups will be restored.
Did you encounter not-wanted objects in material and cross-section mapping? You can still select them by clicking on the line and then use the negative selection filter to filter them out.
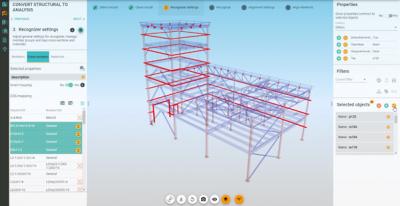
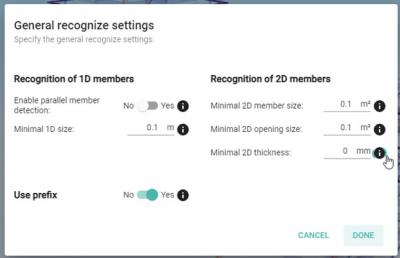
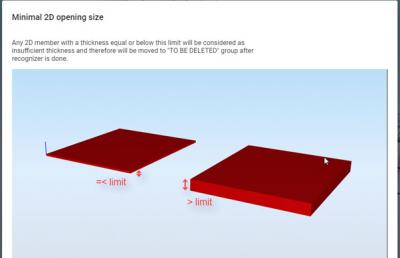
Do you have lot of small objects in your structural model that you want to get rid of? Not a problem, you can set limits in the Recognize settings.
Tips for step 4: recognize
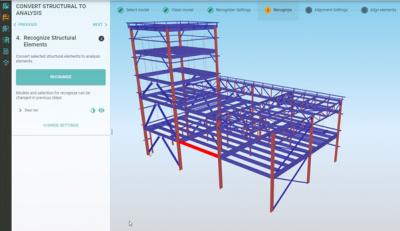
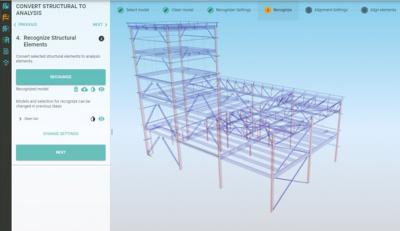
Do you want to convert only part of the structural model? Maybe just one beam? Just select it in 3D screen and press Recognize.
Tips for step 5: alignment settings
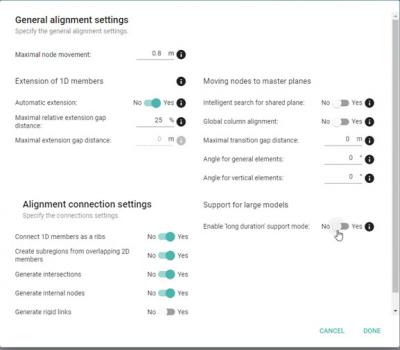
Do you have a complicated model for alignment? Use the “long duration mode” which will make alignment run more robust.
Our attributes highlight and selection work also with analysis objects. This could help you to create various groups in the System line and Element behaviour groups.
Tips for step 6: align
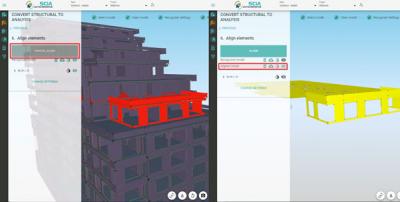
Do alignment in steps: Use the partial alignment feature by selecting only a subset of the analysis objects in the 3rd screen. Run partial alignment, select other objects, and repeat.
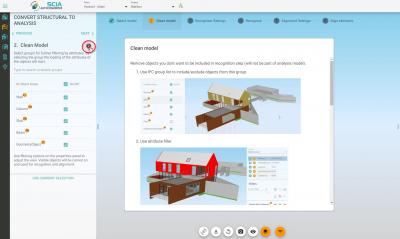
Are you not sure what to do in a specific step in the workflow? Double-check the tooltip icon next to the title.
