Input table
The table input toolbar is a user interface component that helps you create and maintain geometry and loads in a project.
Following tips and tricks can help you save a lot of time and effort:
- rename several items (nodes, elements, supports, loads, …) at once;
- select objects based on certain properties;
- quickly show or hide specific layers.
Renaming several items at once
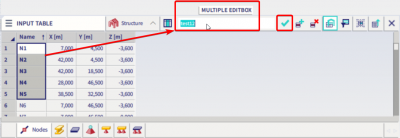
Table input allows you to rename an item. You can apply this to all data (nodes, elements, supports, loads, …). When multiple names are selected in the table grid they are all renamed and also automatically renumbered (the name stays unique).
In the example below we want to rename some elements:
- select a set of names in the table input (on the 1D member tab);
- type the new name of the first entity in the multiple editbox. In our example we use as name ‘test12’;

- when you confirm with the button ‘apply edit’, all the selected entities are renamed. The first one is assigned name ‘test12’, the second one ‘test13’, …

Selecting (highlighting) members according to a certain property
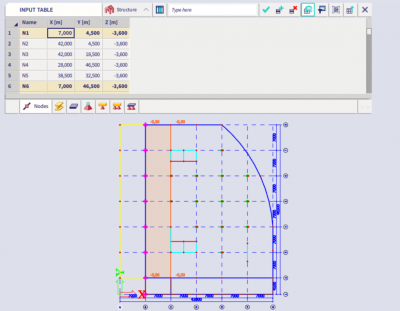
All members with the same property (for example the same X-coordinate) can be selected using a single click. This functionality is similar to filtering the model by a property in the property window.
You can do this by selecting a cell in the table input with the required property and using the button 'Select by property in cell' on the toolbar:


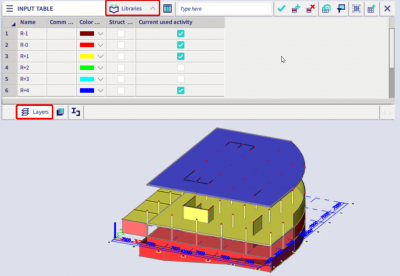
Activity by layers
The layers tab (in the libraries group) is very useful when you want to apply activity by layers in the model. You can change the activity right here. The layer settings are visible all the time and you don’t have to open the layer manager or the layer visibility when you need to change the active layers. Be aware that visibility by layers need to be on.
