ADM API with Python
Follow the steps below to use the ADM API / OpenAPI in combination with Python.
You can find documentation on the ADM (Analysis Data Model) API here.
First download the (free) version of Python via following link: https://www.python.org/downloads/.
Then you need to install the pip Pythonnet library to load the C#-dlls (and to avoid errors such as "ModuleNotFoundError: No module named 'clr'): https://pypi.org/project/pythonnet/.
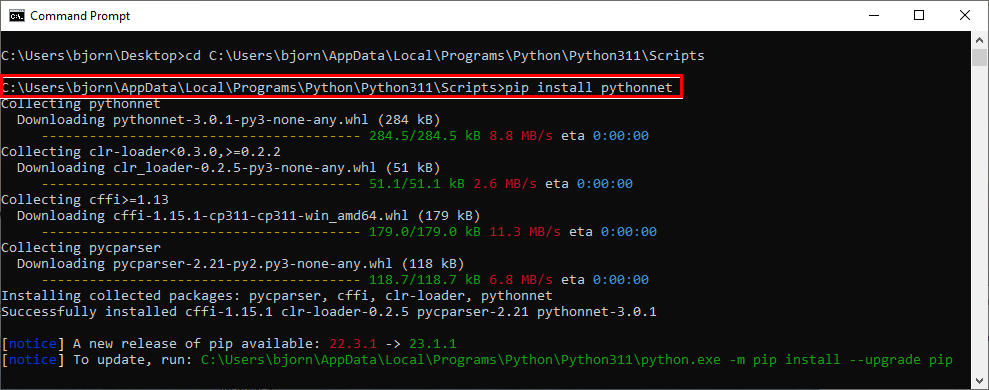
Open the command prompt (cmd) and execute "pip install pythonnet" on the location of pip.exe (typically this is C:\Users\*username*\AppData\Local\Programs\Python\Python311\Scripts):
Now you can start writing your Python script to create a model based on ADM.
Afterwards you need to create a SAF-file.
In SCIA Engineer you can import that SAF-file or it can be automated (importing the SAF-file, executing the analysis and creating results) via the ESA_XML routine. You can find more information on following helppage: https://help.scia.net/22.0/en/#data_transfer/xml/xml_format/program_esa_xml.htm
Example
The archive AdmApi_SAF contains an example project AdmApi_SAF.py using the ADM API:
Unpack the zip-file and store the AdmApi_SAF.py file somewhere.
Then edit the file in Notepad++ and set the correct folders for your SCIA Engineer version and a (Temp) folder where the generated SAF-file and log-file can be written:

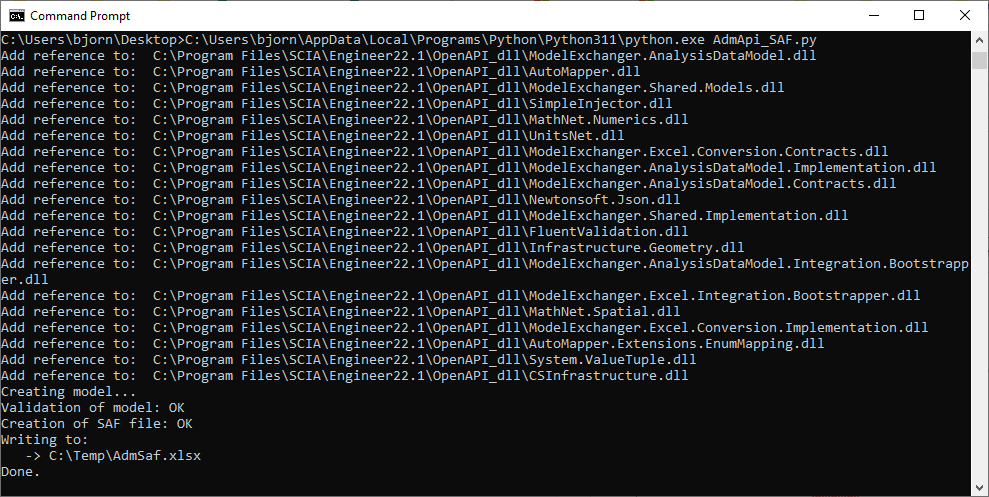
Open the command prompt and execute the AdmApi_SAF.py from the folder where you store the file:
For more info about ADM, see also: https://help.scia.net/webhelplatest/en/#special_applications/openapi/openapi.htm